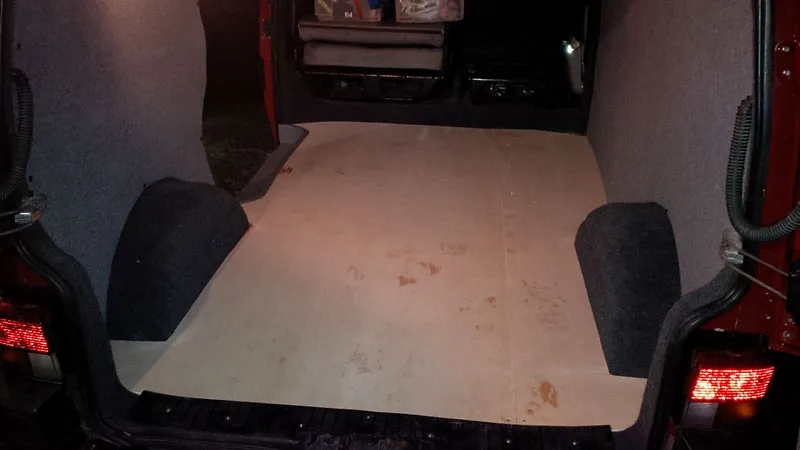
When I purchased the VW T4, all the carpeting and insulation was already complete, but the floor was just the standard plastic/rubber matting – so I basically had a blank canvas with which to design the interior camper build.
In this article we will have a little look at how I went from rubber matting to a ply lined floor covered with wood effect lino.
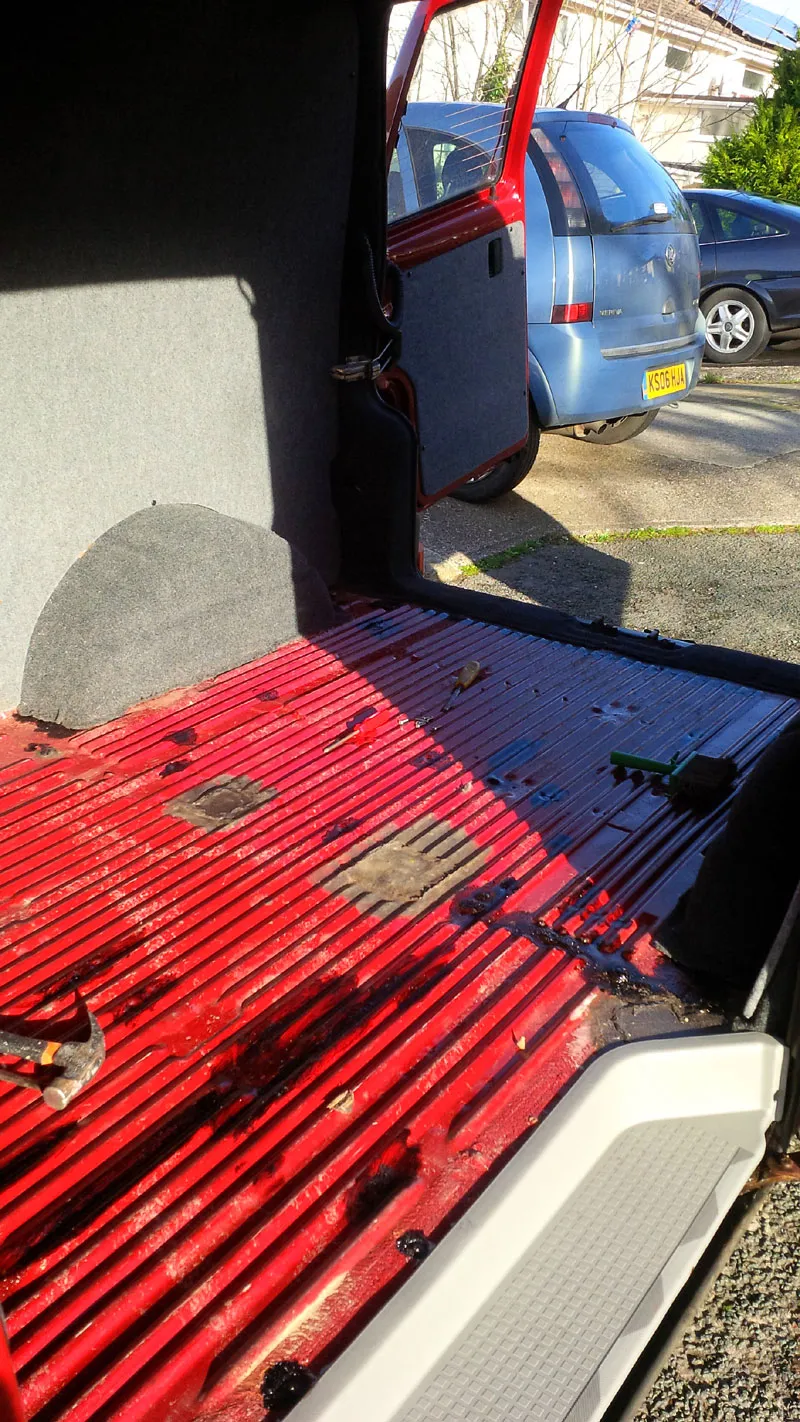
Treating the load bed for rust spots
So the first thing was to rip up the old mat, and start treating any rusty spots on the load bed.
Some welding had already been done by the previous owner (see pic) but the rest was pretty sound, and only needed treating here and there. I rubbed down and treated the rust spots with black waxoyl and allowed it to dry before proceeding to the next stage.
Insulation layer
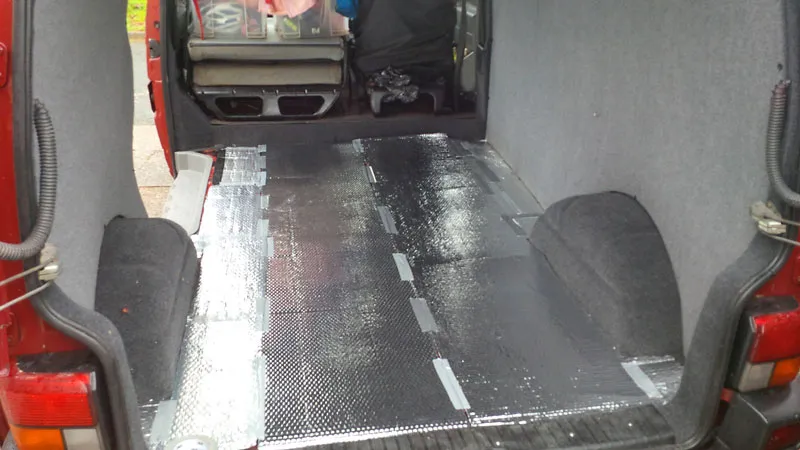
Its a simple enough job, just get it into lengths and sections and lay it on the floor. I chose to tape the insulation along the seams, but didn’t physically attach it to the floor, as the plywood would hold it down anyway.
Installing the plywood floor
The cost wasn’t that much difference, so in the end I opted to get the 9mm pre-cut plywood from eBay (there is a 12mm option too). This would save me a tonne of hassle having to cut out the wheel arches and other nooks and crannies to get the wood to fit. This way it just arrives, and i install it!
In reality, when it arrived it did need a little bit of trimming to fit the van, but installation was straight forward. I bolted and screwed the plywood onto the load bed, so it was nice and secure.
Installing lino floor covering
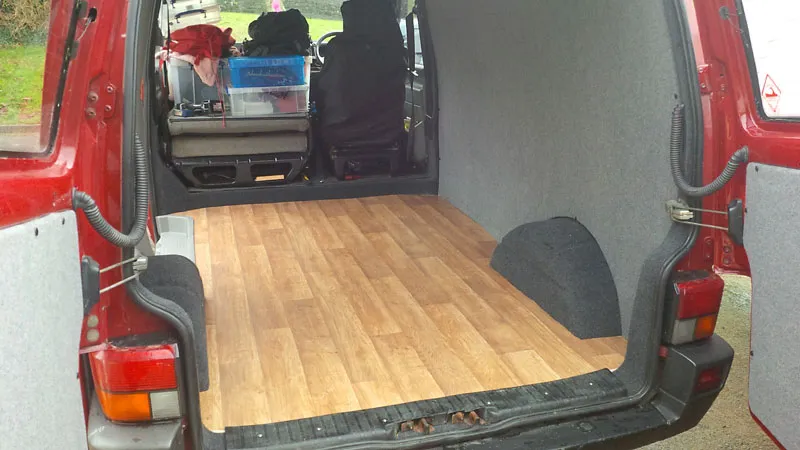
I was very tempted by a colourful jigsaw pattern, but in the end opted for a nice wood planking design. The will need at least a 3 x 2 metre piece of lino to fit the van, and this will give you plenty of room for error and plenty of off cuts for future use too.
Installation was pretty straight forward, the first thing I did was remove the ply floor, and used it as a template for cutting the lino. This worked really well, and it just needed to some small adjustments when placed in the van. I choose not to glue it down, in case I needed to take it apart in the future, and with the weight of the camper build on top, it isn’t going anywhere soon!
With the floor now installed, its now time to get my head around the actual build and storage build, but that’s for another article!


Nice article! There is also a write up for a VW T5 insulated floor installation here: http://www.vannyingaround.co.uk/installavanfloor.asp